The easiest way to create closed caption files for free!
If you’re building online trainings, you’ll want to make sure that you include captions in your videos. Captions help to make your videos more accessible to your learners. While there are many softwares that can create captions for you, most of them can cost time and money to generate (especially if the captions are human generated!) If you’re looking to create captions for free (.srt, .vtt, .sbv file types), this tutorial is for you!
Create a YouTube account
For this tutorial, we will be using YouTube. So to start, go to YouTube.com and create a free account. You won’t need to have a public profile, so only fill in the details that are required.
Upload your video
Now that you have your account, you can upload your videos that you want to create captions for.
Step 1: In the top corner of the YouTube homepage, click the video camera icon, and select Upload video. This will bring you to the YouTube Creator Studio.

Step 2: Upload the video you want to generate captions for.
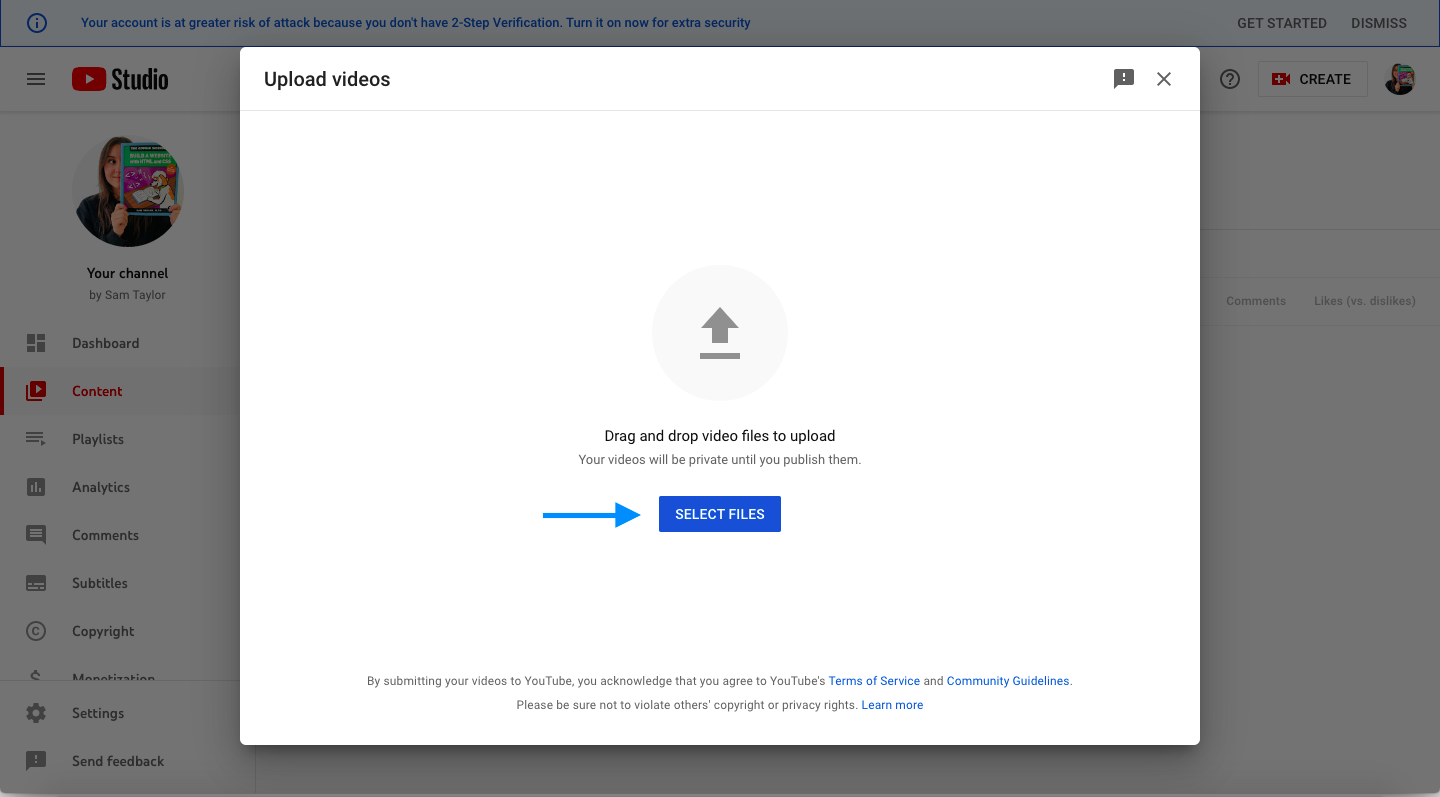
Step 3: Give your video a name, and fill in the required fields. The one field that is not required, but is the most important is the Language and captions field. Select the language you want YouTube to auto-generate captions for.

*Wait for captions to auto-generate*
I’m including this because sometimes it takes up to a few hours for captions to auto-generate! I’d suggest attempting the following step after about an hour, and if you don’t see the options to download your files, then just be patient!
Download file and edit
Now that your captions have auto-generated, you can download them and edit them if necessary.
Download your caption file
Step 1: In the Subtitles tab, select the video you want to download the captions for.
Step 2: If the captions have finished auto-generating, you should see the that there is the option to Duplicate and Edit. Click the three-dot icon.
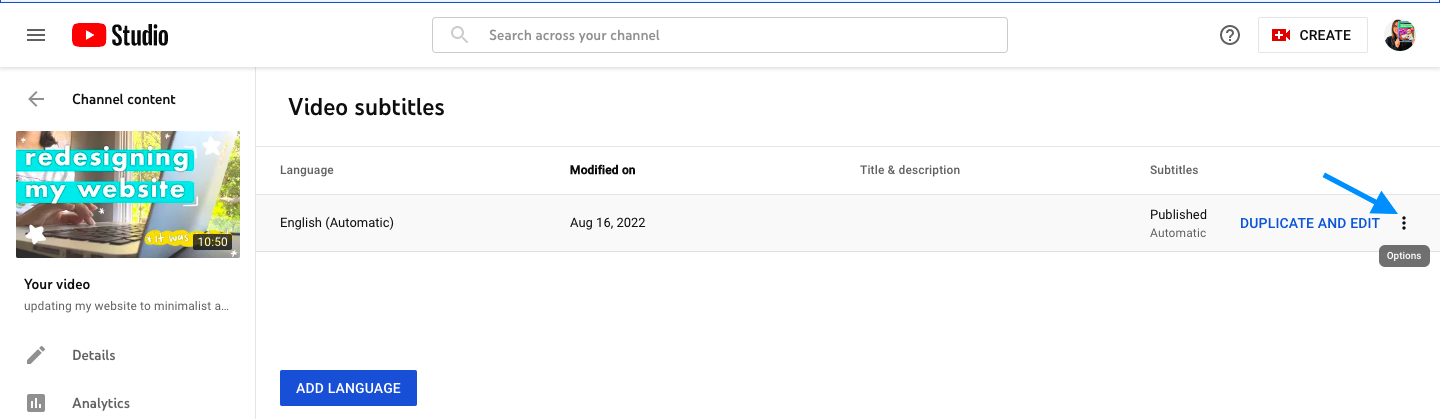
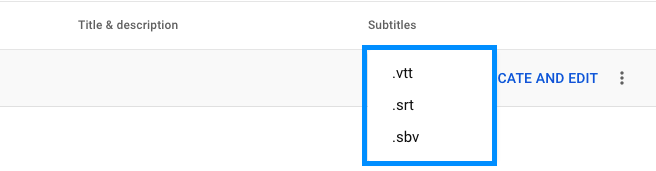
Step 3: Click Download and then select the type of caption file you need.
Edit your caption file
Now you have the option to edit your file.
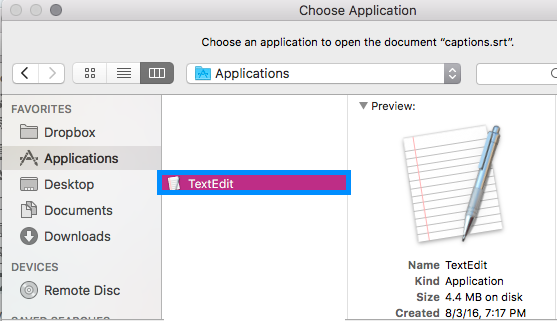
Step 4: Open your file in a text editor (Text Edit, Notepad, etc.)
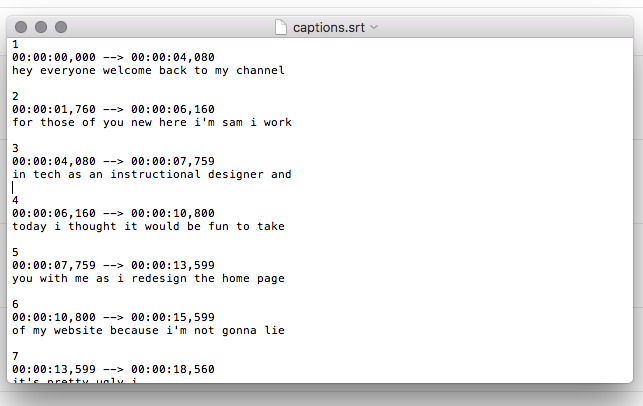
Step 5: Once opened, you will see the different text and timestamps for your captions. You now have the ability to edit the text to ensure it matches the script.
Step 6: After you’ve made your edits, be sure to save your file.
Step 7: Rename your file but keep the .srt file extension at the end of the file name.
Step 8: You now have your closed caption file that you can use wherever you’re uploading your videos!
And that’s how you can auto-generate and edit captions for free! It’s important to make sure all of your content is accessible, so be sure to always add captions and other accessible features to your content.